Whether you’re a photography fanatic or a beginner with a simple point and shoot camera, holidays are the best time to enjoy documenting the world around you. But have you ever stopped to think how to improve your holiday photos? A few simple changes could be all it takes to make your pictures pop.
Venture out from your holiday cottage to discover the great outdoors through your lense (or smartphone screen). From hazy field shots to chilly winter sunsets, the South and West offers plenty of stunning scenery for your personal photoshoots. Simply take a walk outside to discover the wonders of nature on your doorstep. Make your photos even better with our hints and tips for getting the most out of your equipment and surroundings.
General composition rules
You don’t have to be incredibly artistic or spend hours setting up to create a good shot. It all adds up to timing and some basic understanding of what makes a good photo. From remembering the rule of thirds to framing your shot, having a small understanding of basic photography techniques will help improve your photos no end. The main thing in photography is to remember that there are no rules, experiment with your own style and technique but if you feel like you need some guidance, feel free to use some of these tried and tested ideas.
The most basic photography ‘rule’ (remember we said no rules) is the thirds rule. The idea is that when you take a picture you split your image into thirds both horizontally and vertically.
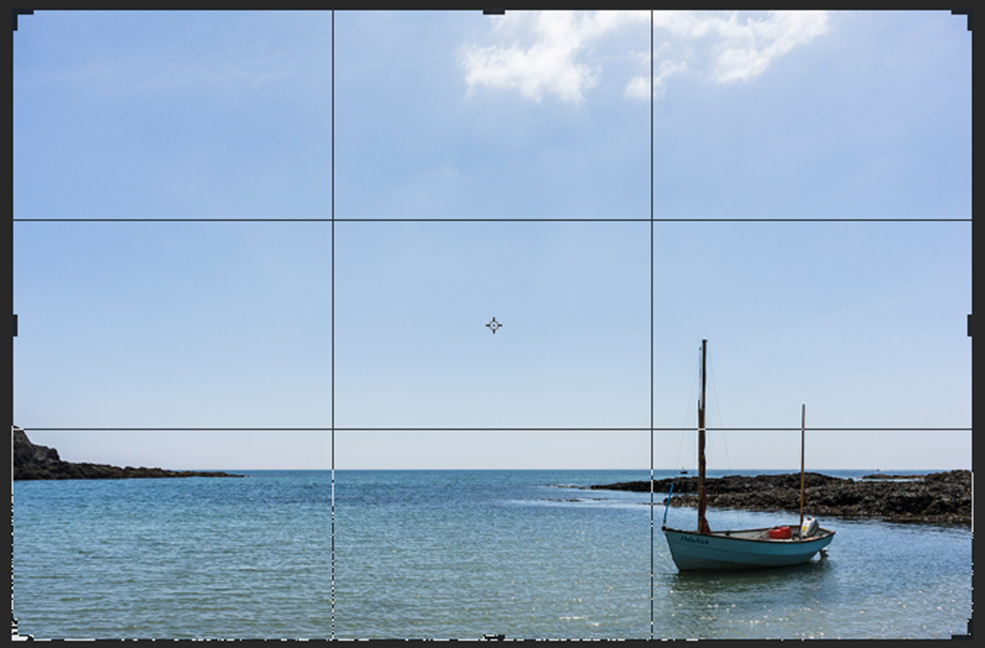
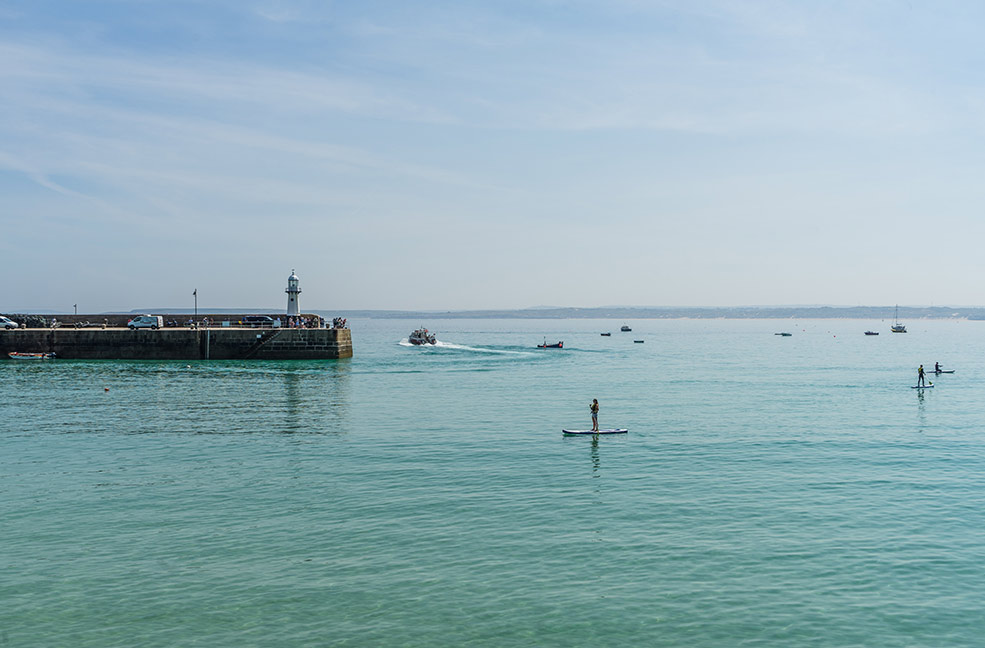
Ideally, you want your focal points to sit where the lines intersect. If this is a landscape, line your horizon up with one of the horizontal third lines. The lines and intersects mark out where the eye will be naturally drawn, making your photo more interesting to the viewer. Most cameras and phones have a setting where you can add these lines in while you take the photo.
A great thing to keep in mind while photographing is the unexpected lines that turn up in your photos. Paths, roads and hills all create lines for the eye to follow ‘leading’ your viewer through your scene.
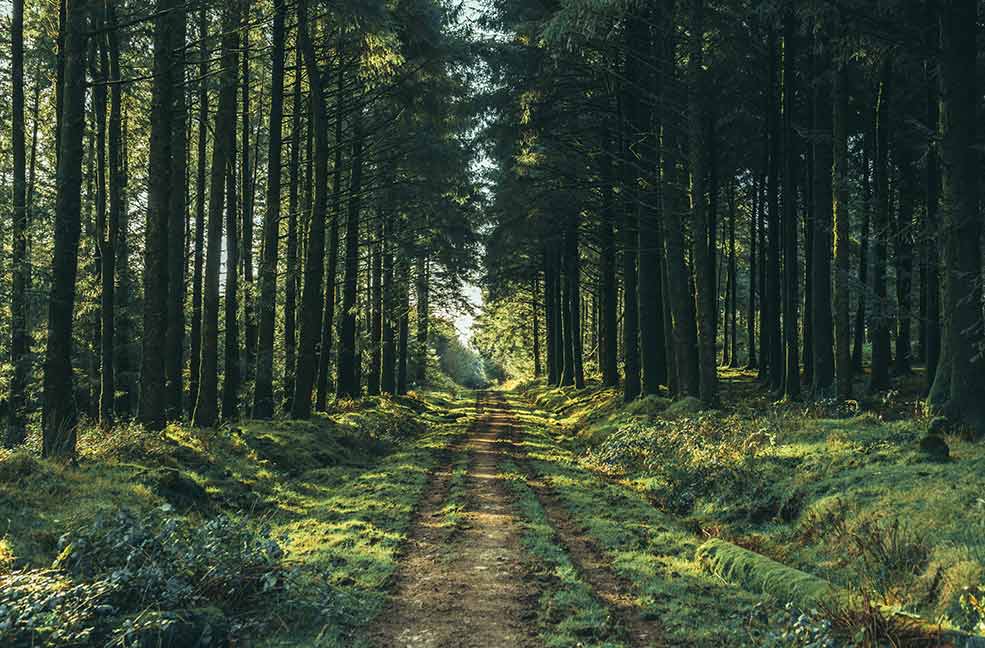
By manipulating your lines you can direct the viewer to certain elements of the image, highlighting different areas, taking their eyes on a journey through your picture.
Conveying a sense of depth in your photos can be difficult as they’re a two dimensional medium. Luckily you’re in a great place to find some depth for your pictures: the South and West.
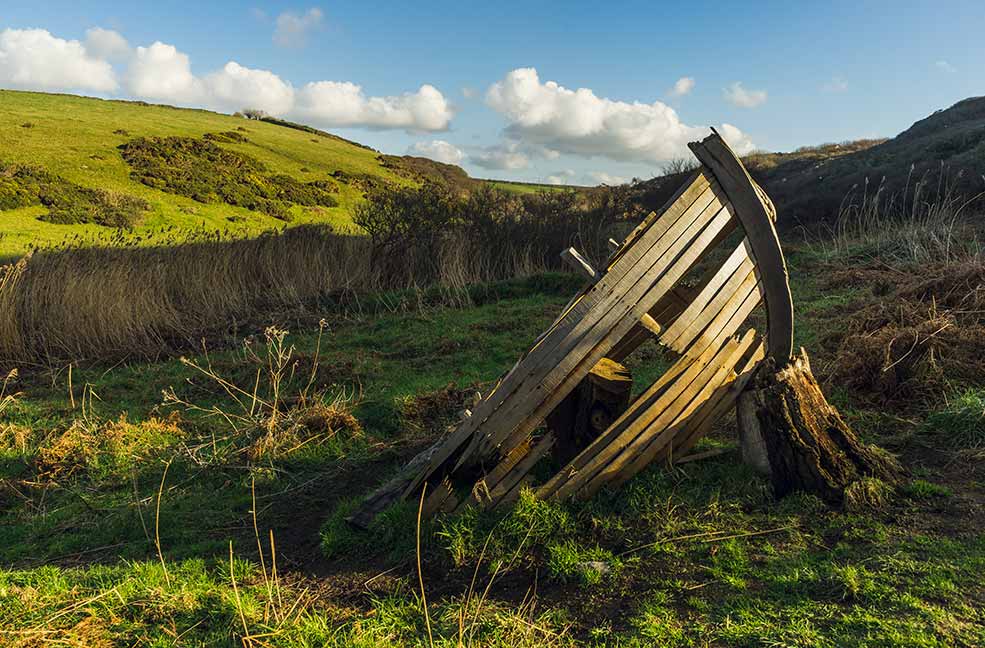
By including objects in the background, middle ground and foreground of the photos you create a three dimensional depth in your images.
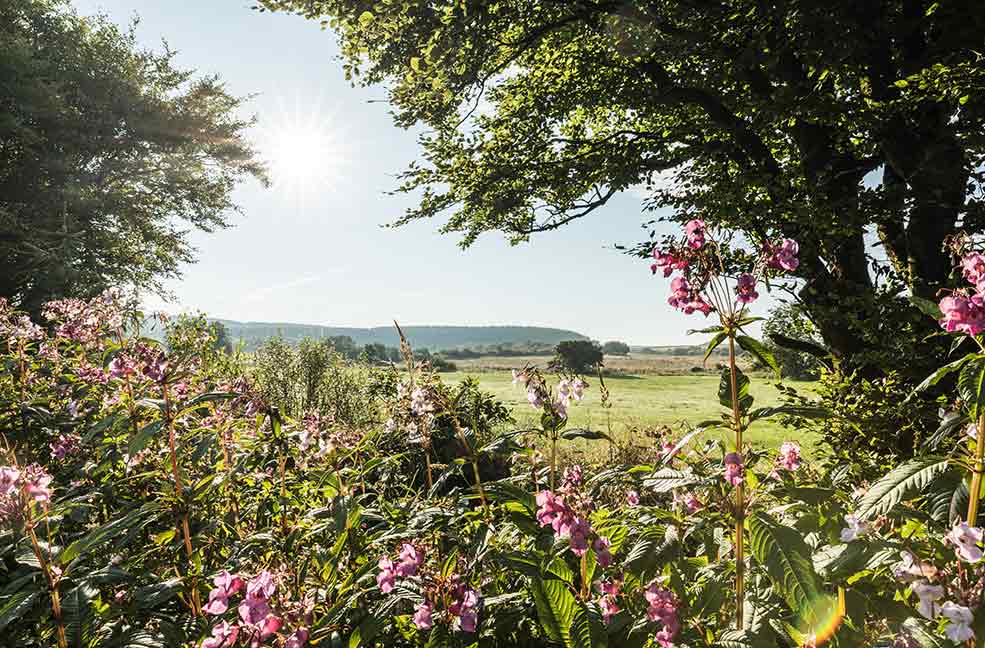
Frame your subject using natural surroundings. Trees, cliffs and archways all draw attention to the main object of your image.
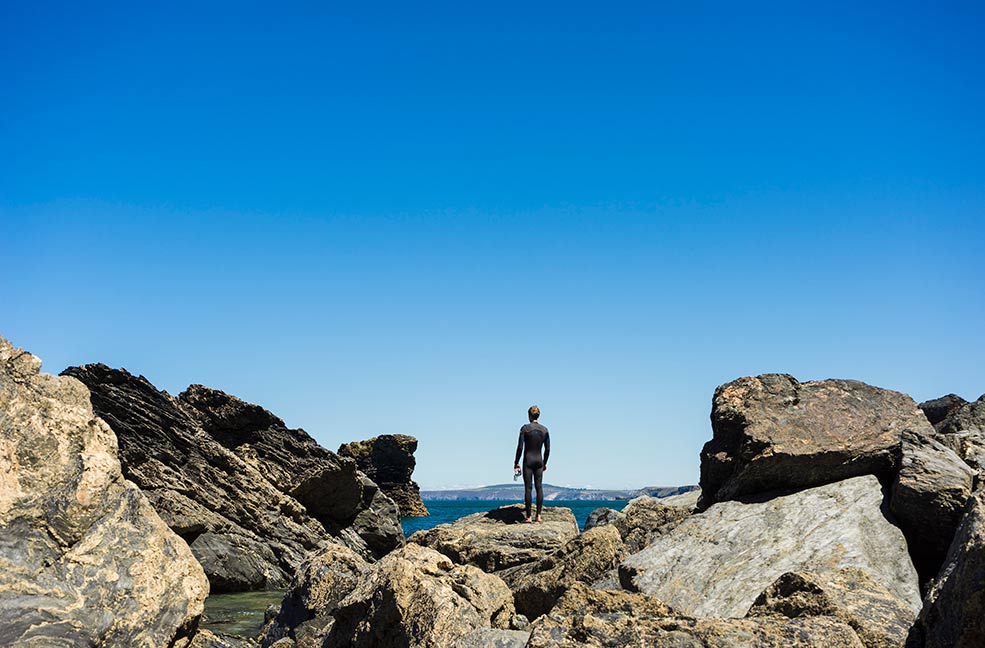
Framing can be a simple way to add some interesting features as well as bringing depth to your image.
Taking group photos and portraits
Typically, most of the shots you take while away on holiday will include family or friends. These are the kinds of memories you want to hold on to so make the most of the photographs and they’ll last a lifetime.
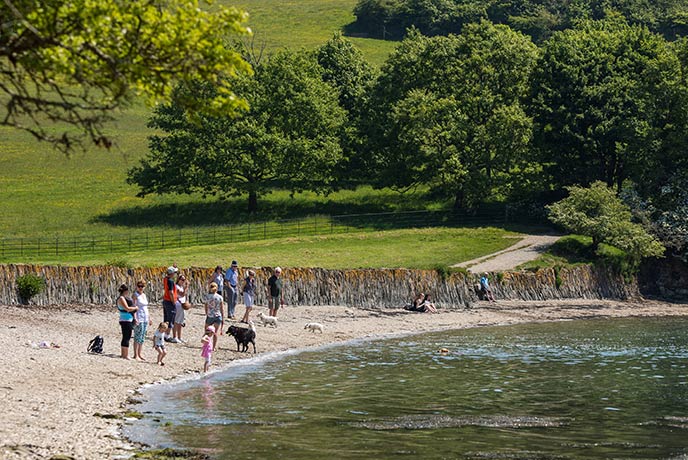
By slightly altering the angle of your photo you could include a very different background. Consider what the photo might look like if everyone sits down or if you take the photo from above them. You might like to put your group of friends or family into perspective by picturing them in the middle of a cove or at the bottom of a valley, including some scenery leaves an impact of the location and will remind you of the place and your holiday when you look back on your pictures in years to come. Your background colour will also highlight certain parts of your subject. Taking a close up portrait of someone with blue eyes in front of the blue sea will only serve to highlight the colour of their eyes, perfect for incorporating a colour scheme into a series of photos.
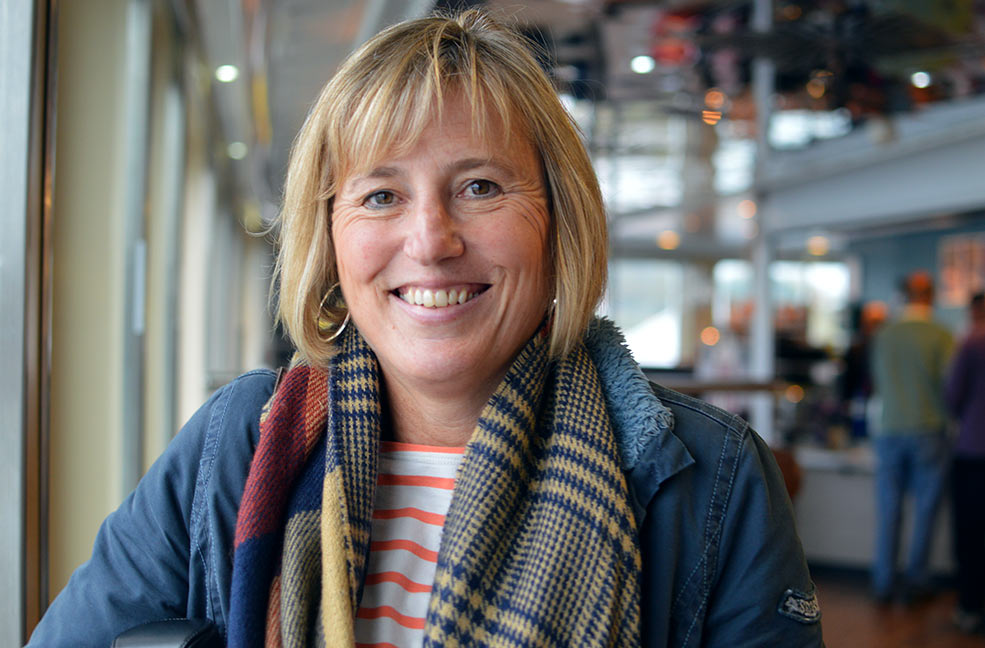
When gathering a large group together for a photo, be sure to organise everyone so that you can see their faces. This sounds like a simple task but seeing everyone’s faces is what will make your picture. Just like your photos at school, get the tall ones at the back and the smaller ones at the front. Take the photo from middle height rather than eye level to create a different angle.
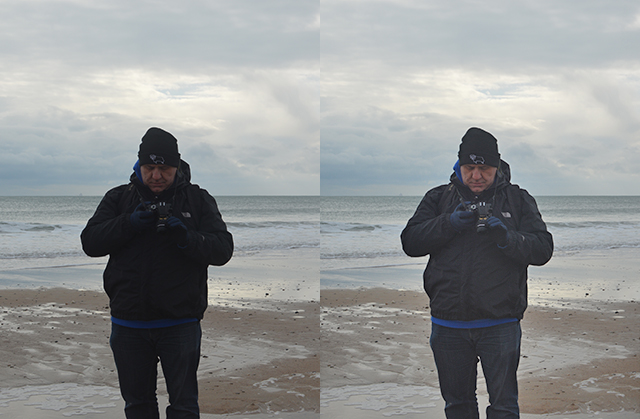
Consider where the sun is. Light can be an amazing tool in photography. From inflections on a mirror to casting shadows in front of your subject, experiment with light and the angle of your shot. When photographing people you probably don’t want the sun in their eyes, they’ll all pull funny faces. Instead, take it at an angle from the sun so that you still catch the light. If the photo comes out slightly darker you can lighten the picture later or take another one using the flash on your camera. Either way, a dark photo is much easier to edit than funny faces.
Landscapes
It finally happened, you stumbled across the perfect landscape image and now you need to take the shot of a lifetime. Obviously, you need to keep the horizon horizontal in your image and try to remember that rule of thirds we talked about but what else can you do?
Look at the angle of your shot. Could you get lower to the ground? You might find some flowers or greenery to pop into the foreground of your image to add that all important depth to the final shot. Get stuck into your environment to see it from your own perspective. Considerations like this can really help you take a few photos of the same place that look entirely different.
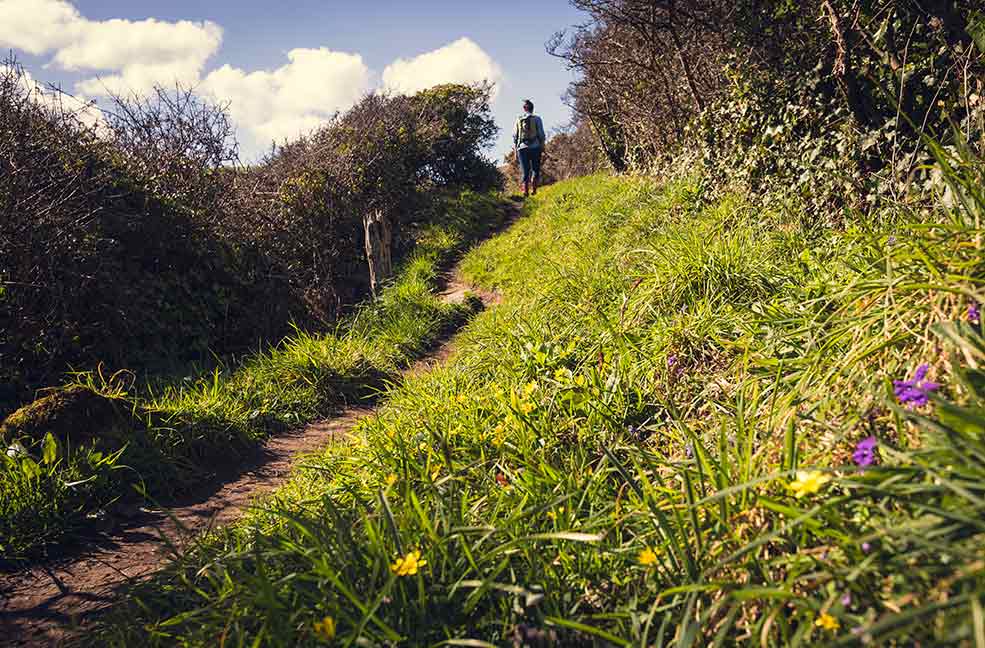
Back to our composition ideas, leading lines often crop up in landscape photography, especially the windy lanes of the South and West countryside, so explore how you can compose your image to lead the eye through the image. Digital photography means that you can take hundreds of the same shot and check each one over to make sure you got it just right. Take the time to look at a landscape and think about all the ways you could make an interesting image from it.
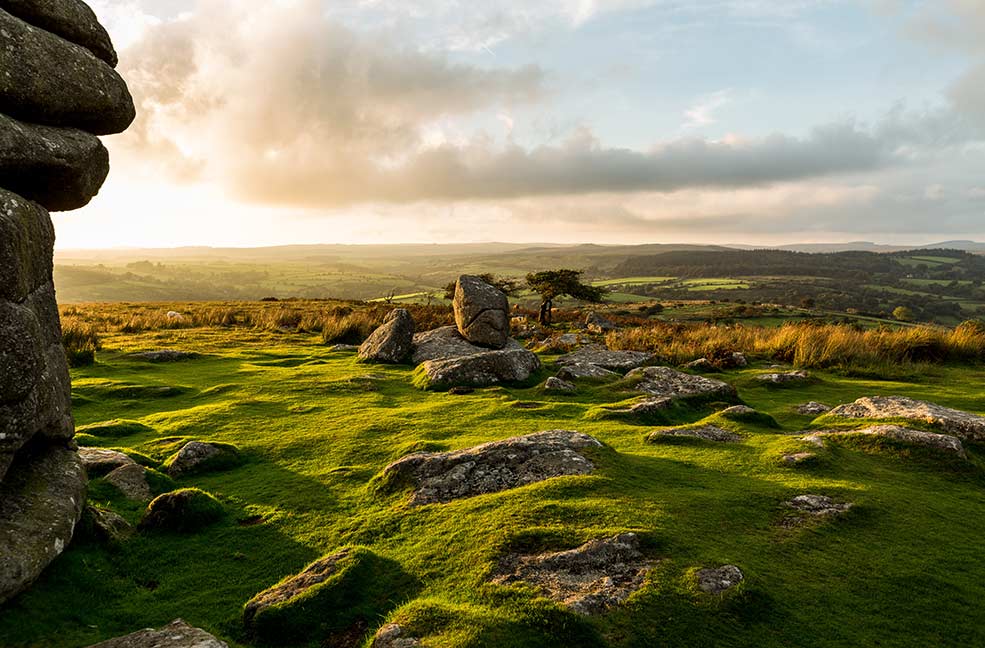
Finally, if you want to capture some dramatic landscapes, check the weather. I love the BBC weather app as it gives you an hour by hour break down of the weather forecast. The changing tides are a photo-changing factor too. With the tide in you can capture miles of deep blue seas, when it’s out you might get miles of golden sands and be able to walk along the beach to find hidden coves only accessible by boat when the water’s in.
Sunsets and night photography
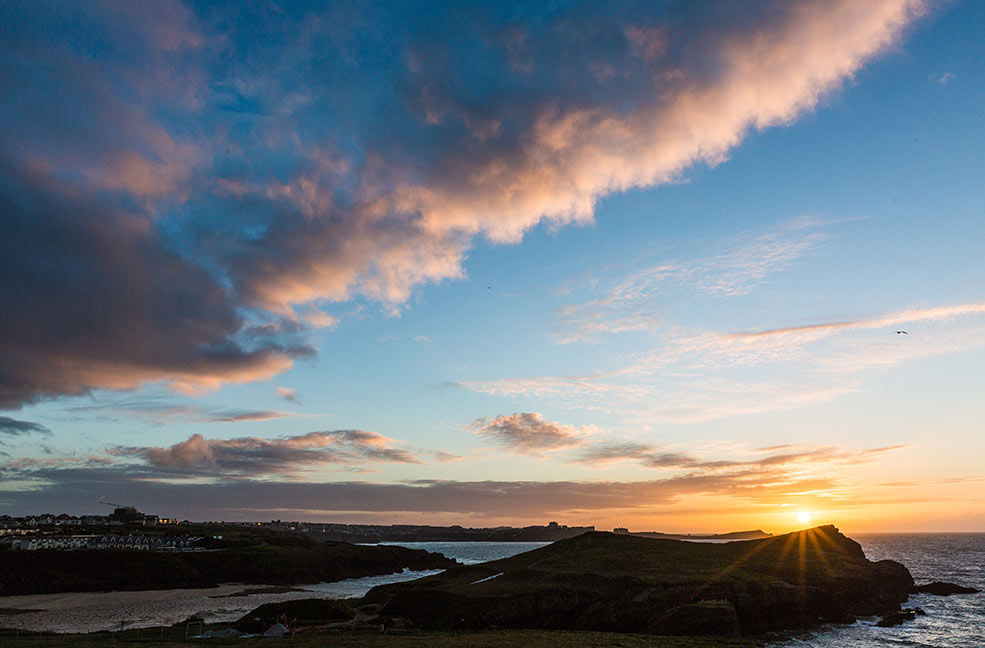
Sunsets make for timeless photographs, reminding you of just how perfect the South and West is as a holiday destination. Sunsets are prime opportunities to pop camera shy friends or family members in front of the lense and snap their silhouette. Silhouettes in front of a sunset can add a little bit of family character to the scene.
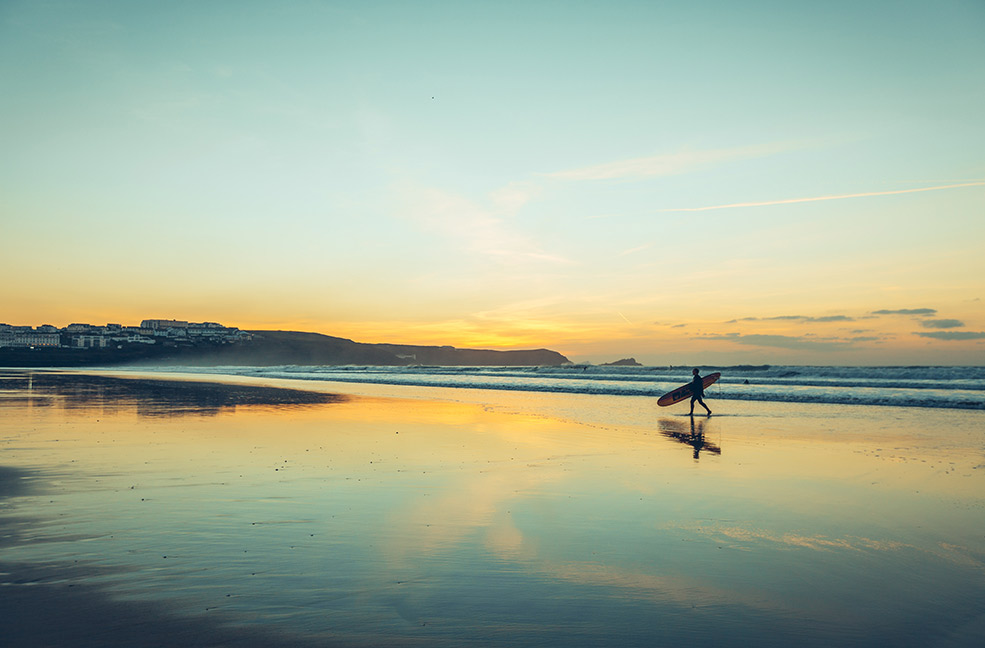
Timing is key. Possibly the most difficult thing to master. Many photographers head out early or late to capture tranquil moments whilst the sun is still low in the sky and there are no tourists standing in the way. This time is known as the golden hour. The sun gives the countryside a warming glow, perfect for breathtaking photographs. A trip out will also give you some peaceful time alone to enjoy the beauty of the South and West without feeling rushed by your family or worrying that you’ll miss out on a pretty photo of your daughter.
This kind of photography is where more advanced kit really comes in handy. The settings on your DSLR need to be altered slightly to allow you to catch more light. This may take a few attempts so be prepared for a few dodgy pictures before you get it just right. Capturing a sunset or beautiful starlit sky can be thoroughly enhanced by using editing software like Adobe Photoshop. Of course this isn’t the only option out there but we highly recommend the Adobe creative cloud programmes for their ease of use. You can find plenty of helpful tutorials for using them online. If you’re taking photos with your phone there are tons of apps to help you capture the best image.
To begin with, sunset and astro photography is all about experimentation, you’ll learn what works for you and your camera. And what works in certain situations taking into account lighting, the season and the position of the sun or moon. The Classic sunset photography cheat sheet offers up some basic settings for you to follow.
.jpg)
A big tip for these kinds of photos is to shoot twice: once for the ground and once for the sky too. Or buy yourself a neutral-density grad filter to save yourself the effort.
Another feature to use on your camera to improve your landscape photography in general, but especially your landscape sunsets, is the HDR setting. HDR stands for High Dynamic Range and brings together the light and shadows of an image to make it look like what your eye sees rather than just what the camera sees. The setting usually takes several images and then merges them together automatically in your camera or phone. Not sure it actually makes a difference? Try taking one photo without HDR and then one with. You’ll notice the depth and shadows change between the two images. An HDR landscape gives you much more scope when it comes to editing your shots later.
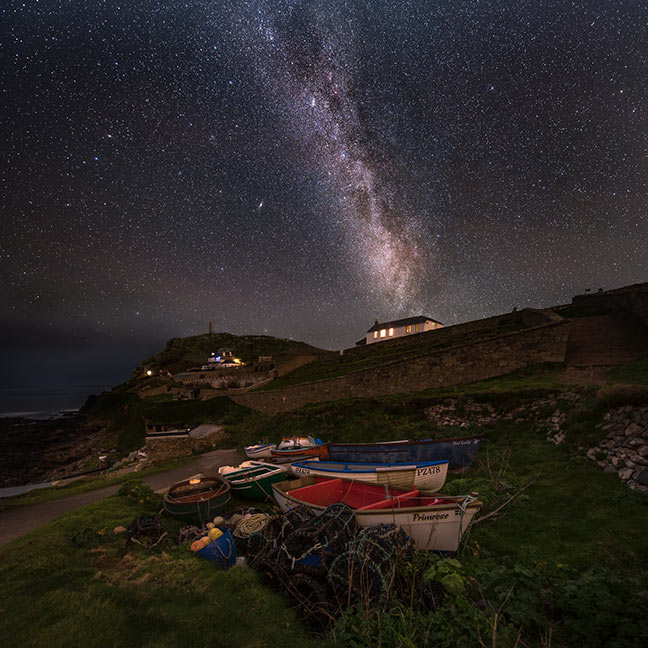
Astro photography is fairly similar to sunsets. These kinds of photos are where a tripod may be useful for total stability. When you come to bringing together your two images it’ll be easier if they’re taken from the exact same position. Instead of taking two pictures, you can get yourself a camera with a high ISO and a lense with a low f-stop that will allow you to capture your subject in one shot. Dark sky enthusiasts will have to wait patiently for their images as the camera will need to spend a little more time absorbing the low light from the starry sky. You have a window of 20-30 seconds before the stars begin to leave a trail.
Equipment
This one really depends on personal preference and what you’re planning on photographing. Of course, the simplest way to take photos lies in your pocket. Phone cameras can be just as good quality as a digital camera and with the progression of various modes, filters and extra apps, you can edit them to a high standard too. A phone gives you the benefit of timing, being able to capture any image almost anywhere. If your son starts doing something silly or mum managed to drop all the ice creams on the floor you can just whip out your phone, snap the moment and save it for later.
For good photos and easy snapping on the go, opt for a compact digital camera. You can get varying features depending on how much you’re willing to spend. The best thing about point and shoot cameras is that they’re so portable. Anyone can use one to take a photograph so they’re perfect for family photos and landscape shots.
If you’d love some quality snaps of beautiful Cornish coastlines or want to capture the deer running through the New Forest, you might like to go for more advanced equipment, such as a DSLR with various lenses. A tripod can be helpful but a big consideration is how much stuff do you realistically want to be lugging around? What objects will you actually use? Carrying different lenses can be useful if you want to switch between small detailed shots and large landscapes, it allows you the flexibility to capture lots of moments throughout your holiday.


